I remember the day my motorcycle chain broke, leaving me stuck on the side of the road. It was frustrating and inconvenient. But it made me want to learn how to replace the chain myself. Now, I’m here to help you learn how to do it too.
In This Guide
Understanding When It’s Time for Chain Replacement
Keeping your motorcycle’s chain in good shape is key for top performance and safety. But figuring out when to replace it can be tricky. By watching for signs of wear, measuring stretch, and doing visual checks, you can decide when to swap out your chain.
Common Signs of Chain Wear
Visible wear on the chain’s rollers and plates is a clear sign. You might also hear more noise, feel more vibration, or notice it’s tighter when shifting. If the chain skips or jumps on the sprockets, it’s time for a new one.
Measuring Chain Stretch
To check your chain’s health, measure its stretch. Pick a part of the chain and measure the distance between a few links. If it’s longer than what the maker says, it’s time for a new chain.
Visual Inspection Guidelines
Doing a close look at your chain can also tell you a lot. Look for wear, like long or worn-out links, damaged rollers, and cracks. If it looks bad, it’s safer to replace it.
By keeping an eye on your chain and checking it often, you can replace it when needed. This keeps your bike running well and safely on the road.
Essential Tools and Materials Needed
Getting ready for a motorcycle chain replacement means you need the right tools and materials. This step is key for a smooth and successful chain swap. Here’s what you’ll need:
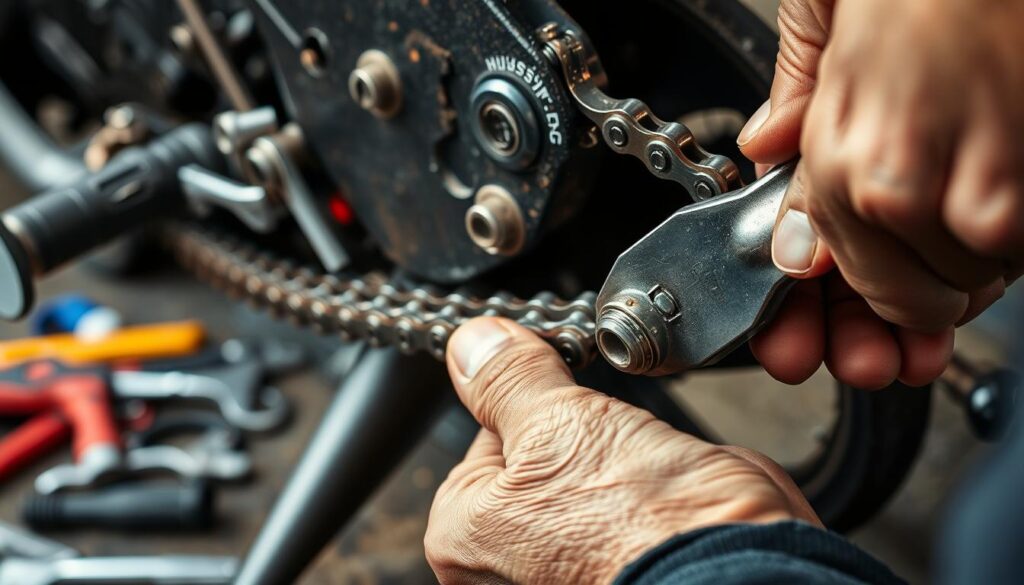
You’ll need a special chain tool to break and re-rivet your old chain.
This tool also makes it much easier for you to install your new chain.
It’s an essential accessory for smooth chain maintenance.
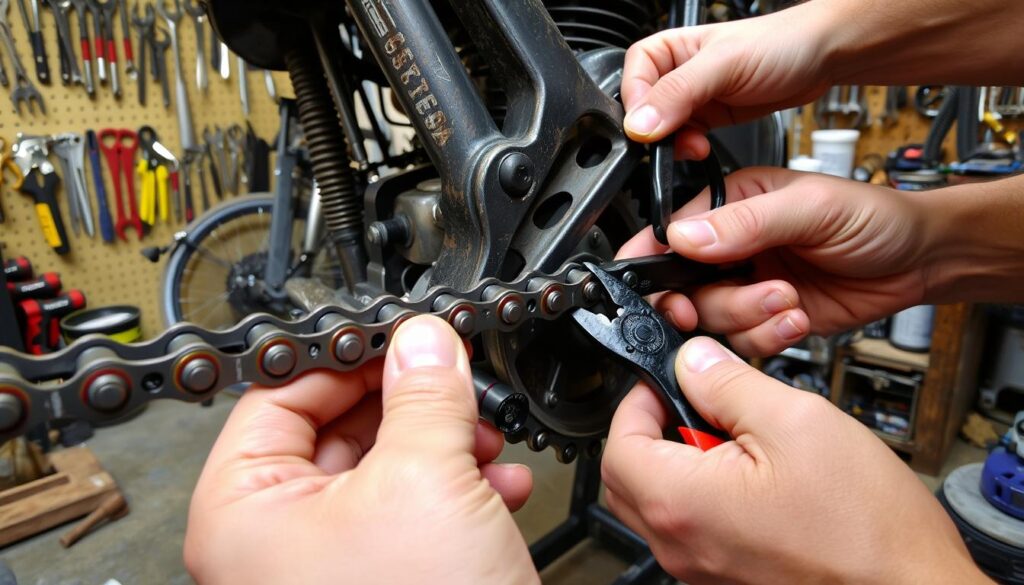
These pliers make it easy for you to put on and take off the master link.
The master link is the part that connects the ends of your chain.
With these pliers, the process becomes quick and hassle-free.
A chain breaker helps you separate your old chain with ease.
It creates the perfect space for installing your new chain.
A must-have tool for smooth chain replacement.
A torque wrench is essential for setting the correct tension on your chain and sprockets.
It ensures precise adjustments for optimal performance.
With this tool, you can achieve accurate and reliable results.
Cleaning supplies – You’ll need degreaser, rags, and a brush. They help clean the chain, sprockets, and areas around them before you start.
Replacement chain – Choose a new chain that fits your motorcycle. It should match the correct length and pitch.
With these tools and materials ready, you’re set to replace your motorcycle chain confidently. Always remember to stay safe and follow the manufacturer’s advice for the best results.
“The right tools make all the difference in a successful chain replacement.”
Safety Precautions and Workspace Setup
When you’re replacing a motorcycle chain, safety should be your main focus. You need the right gear, a stable bike, and a good workspace. These are key to a safe and easy job.
Personal Protective Equipment
Wear the right safety gear when working on your bike. Gloves protect your hands, safety glasses your eyes, and closed-toe shoes your feet. Also, wear long sleeves and pants to avoid cuts or burns.
Bike Stabilization Methods
- Use a motorcycle stand or workbench to keep your bike steady while you work.
- If you don’t have a stand, blocks or chocks under the wheels can help keep it from moving.
- Turn on the parking brake if your bike has one to add extra stability.
Workspace Requirements
Your workspace should be bright, clean, and clutter-free. This makes it safe and easy to replace the chain. Also, use a work mat or clean surface to protect your bike from scratches.
| Safety Measure | Importance |
|---|---|
| Personal Protective Equipment | Keeps your body safe and prevents injuries while working on the chain. |
| Bike Stabilization | Makes sure your motorcycle stays steady and safe, reducing accident risks. |
| Workspace Preparation | Creates a clean and organized area to work in, protecting your bike from damage. |
By using these motorcycle maintenance safety and bike stabilization tips, you can make a safe and efficient workspace for your chain replacement.
Motorcycle Chain Replacement Steps
Replacing your motorcycle’s chain is easy with the right tools and patience. Let’s go through the steps for a successful chain removal and chain installation.
First, remove your rear wheel safely. This gives you better access to the chain. It makes the chain removal and installation easier.
- Find the master link on your motorcycle’s chain. Use the right tools to remove it. This lets you separate the old chain from the bike.
- Guide the new chain through the sprockets. Make sure it follows the path your motorcycle’s maker shows.
- Put the new chain back together by reinstalling the master link. Make sure it’s secure and aligned right.
- Adjust the chain tension as your owner’s manual says. This is key for your chain’s performance and life.
- Put the rear wheel back on. Check the chain’s alignment and tension again.
By following these steps, you can replace your motorcycle’s chain easily. Always check your bike’s maintenance guide for the best advice.

“Regular chain maintenance, including periodic replacement, is essential for the overall health and performance of your motorcycle.”
With the right tools, care, and attention to detail, you can install your chain without trouble. You’ll be back on the road quickly.
Sprocket Inspection and Replacement Guide
Regularly checking your motorcycle’s sprockets is key to keeping your bike running well. By looking at both the front and rear sprockets, you can spot wear or damage. This helps you know when it’s time for a replacement. Here’s how to keep your sprockets in top shape.
Front Sprocket Assessment
First, inspect your motorcycle’s front sprocket closely. Look for these signs of wear:
- Uneven or excessive tooth wear
- Cracks or chips on the teeth
- Excessive play or looseness in the sprocket
If the front sprocket is badly worn or damaged, replace it with a new chain. This keeps power transfer smooth and prevents chain failure.
Rear Sprocket Evaluation
Now, check the rear sprocket. Look for these sprocket inspection problems:
- Uneven wear patterns
- Pronounced “shark fin” shaped teeth
- Excessive side-to-side play or looseness
If the rear sprocket is worn or damaged, replace it. This ensures it works well with the new sprocket replacement chain and keeps your bike’s drivetrain strong.
Matching Sprocket Specifications
When picking new sprockets, make sure they fit your motorcycle. Check the number of teeth, diameter, and mounting pattern. Your owner’s manual or a motorcycle expert can help you choose the right ones.
By following these steps and checking your sprockets, you can fix problems early. This keeps your bike’s drivetrain running smoothly and lasts longer.
Master Link Installation Techniques
Replacing your motorcycle’s chain is a big job, and the master link is key. It keeps the chain together and makes it last longer. Learning how to install the master link right can make your bike run better and stay safe.
Types of Master Links
There are many types of master links for motorcycle chains. Each has its own special features and how-to’s. Knowing about them helps you pick the best one for your bike and how you ride.
- Clip-style master links: These have a split link held by a small clip or pin.
- Press-fit master links: You need a special tool to press them into place for a tight fit.
- Rivet-style master links: You use a chain tool to expand a rivet and lock the link in.
Proper Installation Techniques
Installing a master link needs careful steps to make sure it’s done right. Here’s what to do:
- Clean the chain and area well to get rid of dirt or debris.
- Line up the master link with the chain for a smooth fit.
- For clip-style links, use the right tool to secure the clip or pin tightly.
- Press-fit or rivet-style links need special tools and following the maker’s guide for installation.
- Check the master link to make sure it’s locked in place and the chain moves smoothly.
Getting the master link installation right is vital for your motorcycle’s chain. Knowing about the different master links and how to install them ensures a safe and reliable chain for your bike.

Proper Chain Tension and Adjustment
Keeping the right chain tension is key for your motorcycle’s drivetrain. It helps with smooth power transfer, reduces wear, and prevents breakdowns. Adjusting your chain is simple and keeps it in top shape.
Measuring Chain Slack
To check the chain’s tension, measure the slack. Hold the chain at its tightest point and pull up. The slack should be between 1 to 1.5 inches. If it’s too tight or loose, it’s time to adjust.
Alignment Verification
Before adjusting, make sure the rear wheel aligns with the front sprocket. This ensures even tension. Use a straightedge or string to check alignment, ensuring everything is in line.
Fine-tuning Adjustments
After measuring slack and checking alignment, adjust the chain. Loosen the rear axle nut and turn the adjustment screws to change tension. Tighten the nut when it’s right. Always check alignment and make fine-tunes for smooth running.
| Parameter | Recommended Range |
|---|---|
| Chain Slack | 1 to 1.5 inches |
| Sprocket Alignment | Perfectly in line |
By following these steps, you can keep your motorcycle’s chain in top condition. This ensures it works well for a long time.
Chain Maintenance and Lubrication Tips
Keeping your motorcycle’s chain in good shape is key for its long life and best performance. It’s important to regularly lubricate and clean the chain. With a few easy steps, you can make your chain last longer and keep your bike running smoothly.
Cleaning the Chain
Cleaning your chain often helps get rid of dirt and grime. These can make the chain wear out faster. Use a chain cleaner or a degreaser and a stiff brush to clean it well. Make sure to clean both sides of the chain, especially the rollers and pins.
Lubricating the Chain
After cleaning, apply a good chain lubricant. Choose one made for motorcycle chains. These lubricants are made to handle the stress and conditions a motorcycle chain faces. Spread the lubricant all over the chain, making sure every link is coated.
| Chain Maintenance Task | Recommended Frequency |
|---|---|
| Chain Cleaning | Every 300-500 miles or as needed |
| Chain Lubrication | After every cleaning or every 300 miles |
| Chain Inspection | Every 500-1,000 miles |
Always check your motorcycle’s manual for the best maintenance schedule and methods. Proper care of your chain and sprockets can make your bike last longer and ride better.
“The key to a long-lasting motorcycle chain is regular maintenance and attention to detail.”
Troubleshooting Common Chain Issues
Replacing your motorcycle’s chain is a key maintenance task. But, you might still face problems like chain noise, chain binding, or chain misalignment even after a new chain is installed. Don’t fret, though. With some troubleshooting, you can fix these issues and keep your bike in top shape.
Addressing Chain Noise
First off, check the chain tension if your new chain is noisy. If it’s not right, the chain might rub against the sprockets, making a lot of noise. Look at the Proper Chain Tension and Adjustment section to make sure your chain is set correctly.
Resolving Chain Binding
Chain binding happens when the chain links don’t move smoothly. This can be due to bad lubrication, misaligned sprockets, or a damaged master link. Start by cleaning and lubricating the chain well. Then, check if the sprockets are aligned right. If problems continue, you might need a new master link or chain.
Correcting Chain Misalignment
For your motorcycle to run smoothly, the chain must be aligned properly. If the chain seems to be running unevenly or touching the frame, the sprockets might be off. Follow the Sprocket Inspection and Replacement Guide to make sure your sprockets are set up right.
If you’re facing ongoing or tricky chain problems, it’s wise to get help from a pro mechanic. They have the skills and tools to tackle even the toughest chain issues.
When to Seek Professional Help
Replacing a motorcycle chain can be a DIY task for those who know their way around a bike. But, there are times when it’s better to call in a pro. This is true if you don’t have the right tools, your bike is a bit too complex, or you’re not sure about the steps involved.
So, when should you get a pro to do your chain replacement service? Here are some key situations to watch out for:
- Lack of specialized tools: Chain replacement needs specific tools like a chain breaker and riveting tools. Without these, it’s best to let a pro do it.
- Complex motorcycle design: High-end or custom bikes often have complex chain systems. These need special knowledge and experience to fix right.
- Uncertainty about the process: If you’re not sure about any part of the chain replacement, like measuring or adjusting tension, it’s smart to get a pro’s help.
- Time constraints: If you’re short on time and need your bike back fast, a pro professional motorcycle maintenance service can do it quicker than you can.
When picking a mechanic or service center for your chain replacement, look for someone with a good reputation. They should have lots of experience with chain replacement service and a history of doing quality work. This ensures your bike’s chain is installed and adjusted right, keeping you safe and confident on the road.
| Scenario | Benefit of Seeking Professional Help |
|---|---|
| Lack of specialized tools | Professionals have the necessary equipment to properly replace the chain |
| Complex motorcycle design | Professionals have the expertise to handle intricate chain systems |
| Uncertainty about the process | Professionals can ensure the chain is replaced correctly |
| Time constraints | Professionals can complete the task faster than a DIY job |
Conclusion
Congratulations on finishing your motorcycle chain replacement journey! You’ve learned how to do DIY motorcycle maintenance. Replacing your bike’s chain yourself saves money and lets you control your bike’s performance.
Keeping your motorcycle’s chain in good shape has many benefits. It ensures your bike runs well, wears out less, and makes riding better. Also, checking your sprockets and adjusting the chain tension keeps your bike efficient. This improves safety and saves fuel.
Now, you can do chain replacements on your own with confidence. Being a DIY motorcycle expert brings pride and satisfaction. Keep your bike in top shape and enjoy the ride, knowing you’re in control of its maintenance.

